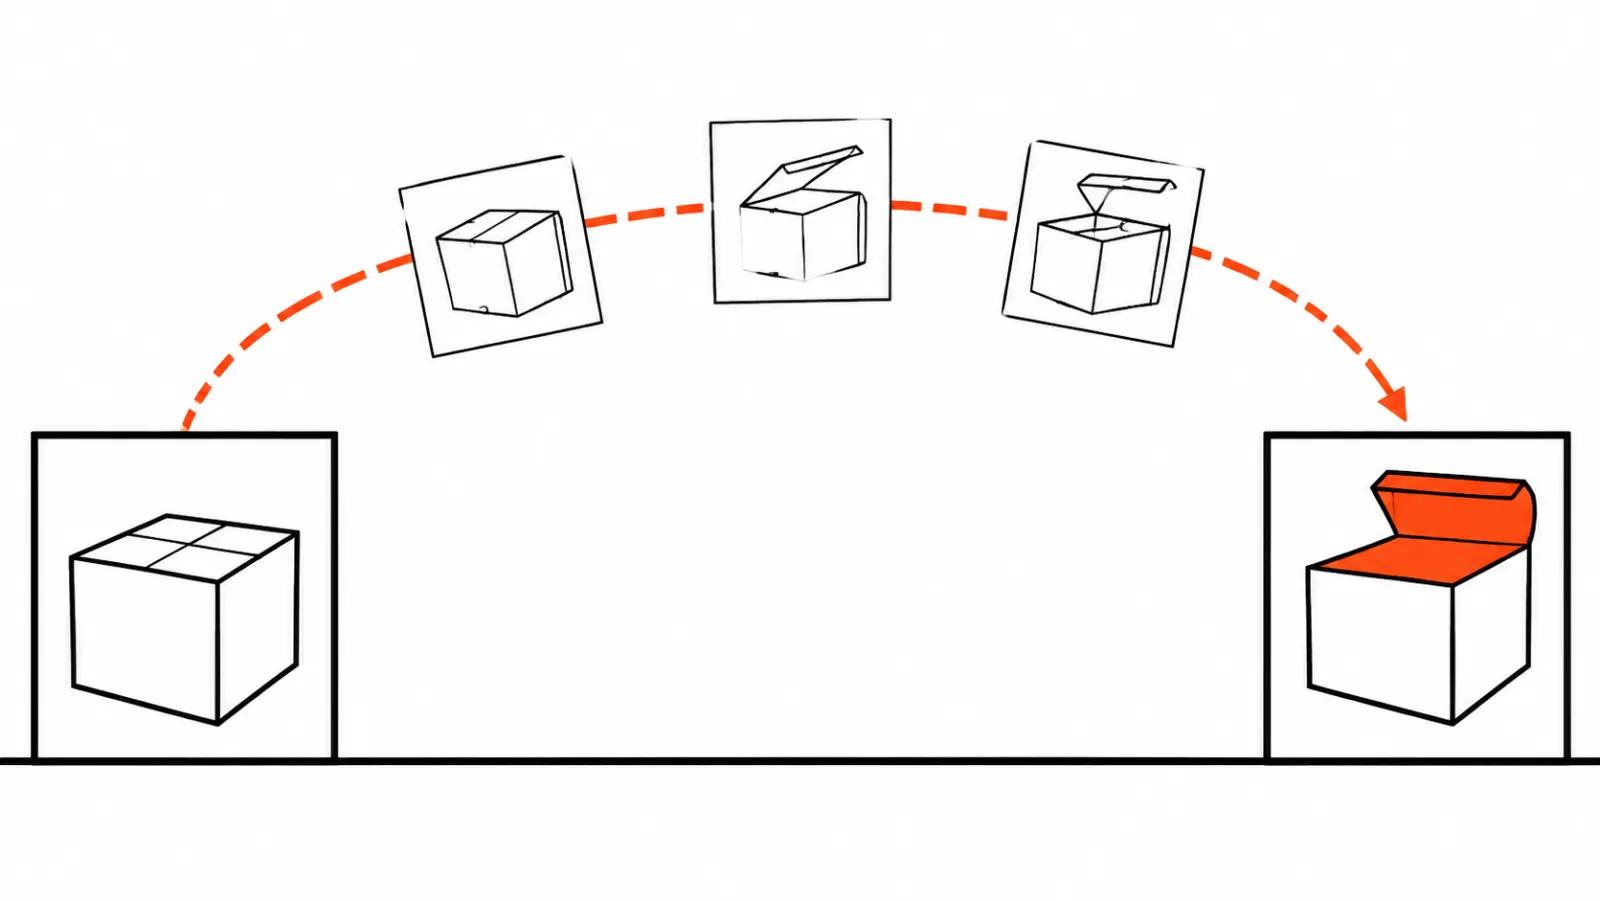
What the second frame buys you
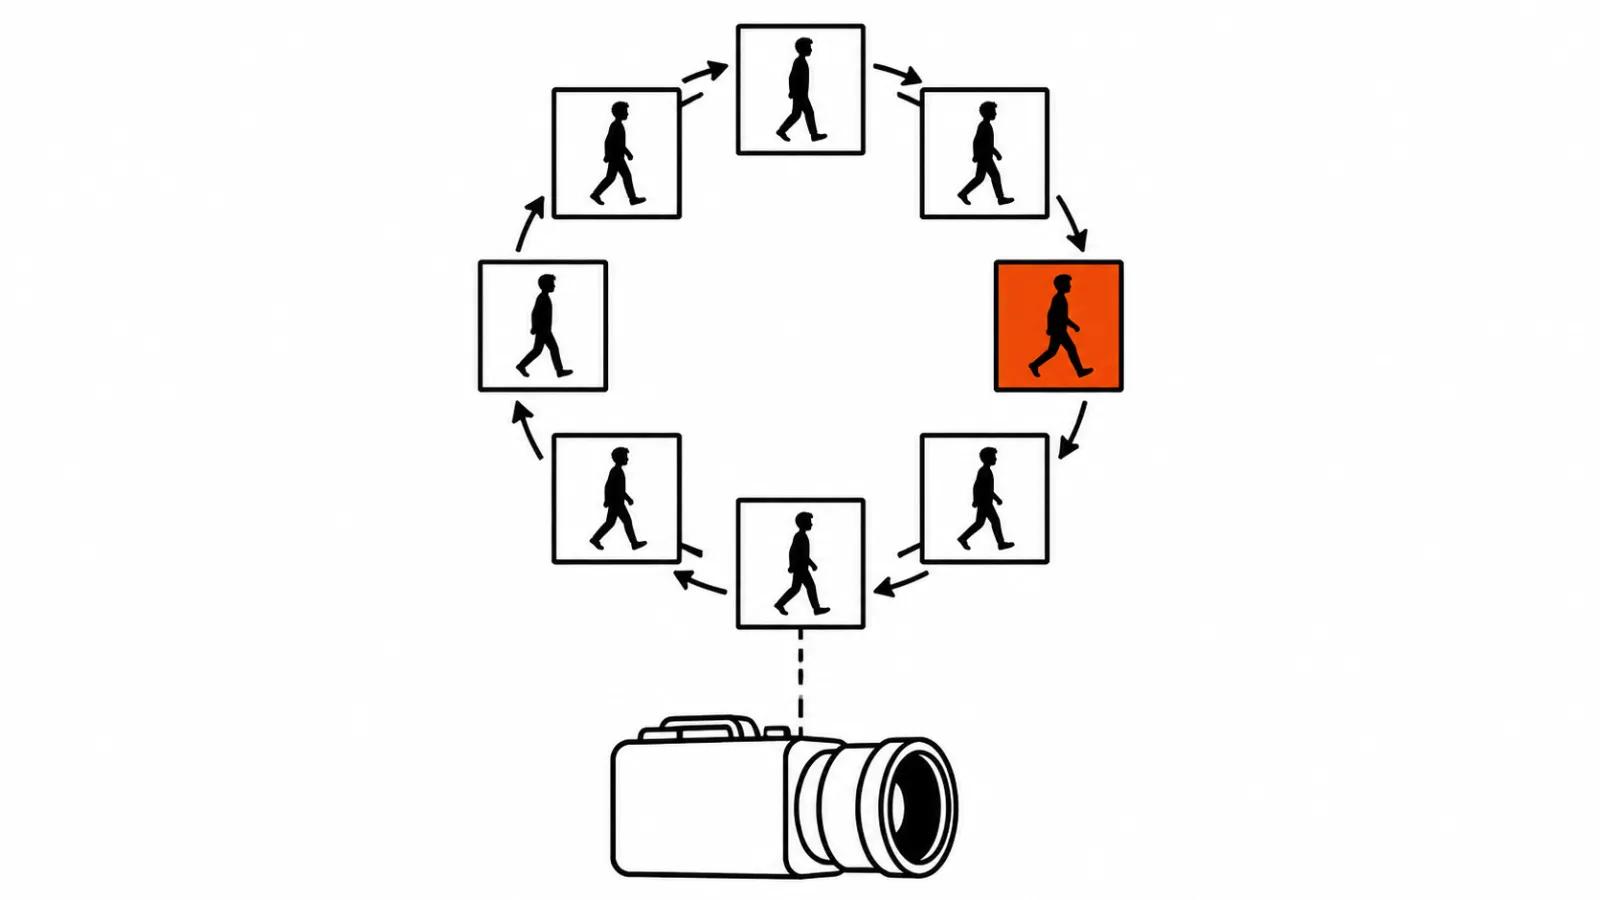
One photo leaves the model too much room. It decides where the camera travels, how the object turns, what shows up behind it. Give it two frames and the task narrows: there is a starting composition and an ending composition, and the model has to move between them. The mode is usually called first frame and last frame, and for product work it is the most predictable thing on the market.
The use cases repeat from project to project. A product reveal where the box is shut in frame one and open in frame two. A walk through a door, street on the outside and interior on the far side. Before and after inside a single composition. Try-on turns where the model has to land back in the pose it started from.
In every case the model solves a narrow problem. It does not invent a clip, it pulls one still towards another. Less freedom means fewer surprises in the output, and that is the whole argument for the second image.
AI image to video with two frames: how it works
The scheme is simple. Two stills and a prompt go in. Out comes a clip whose first frame matches the first still and whose last frame matches the second one, with the model building everything in between. Transition quality depends on how well the two stills agree with each other, and that is the only part you control before generation starts.
Google's recent Gemini Omni 1.2 Flash demos show tighter first-to-last consistency than earlier versions. In the API notes of some providers the last-frame path on that model caps at 3-10 seconds, while plain text-to-video runs up to 15. The short window is a feature. On a long transition the model has more time to improvise, and hands plus small type are where that shows.
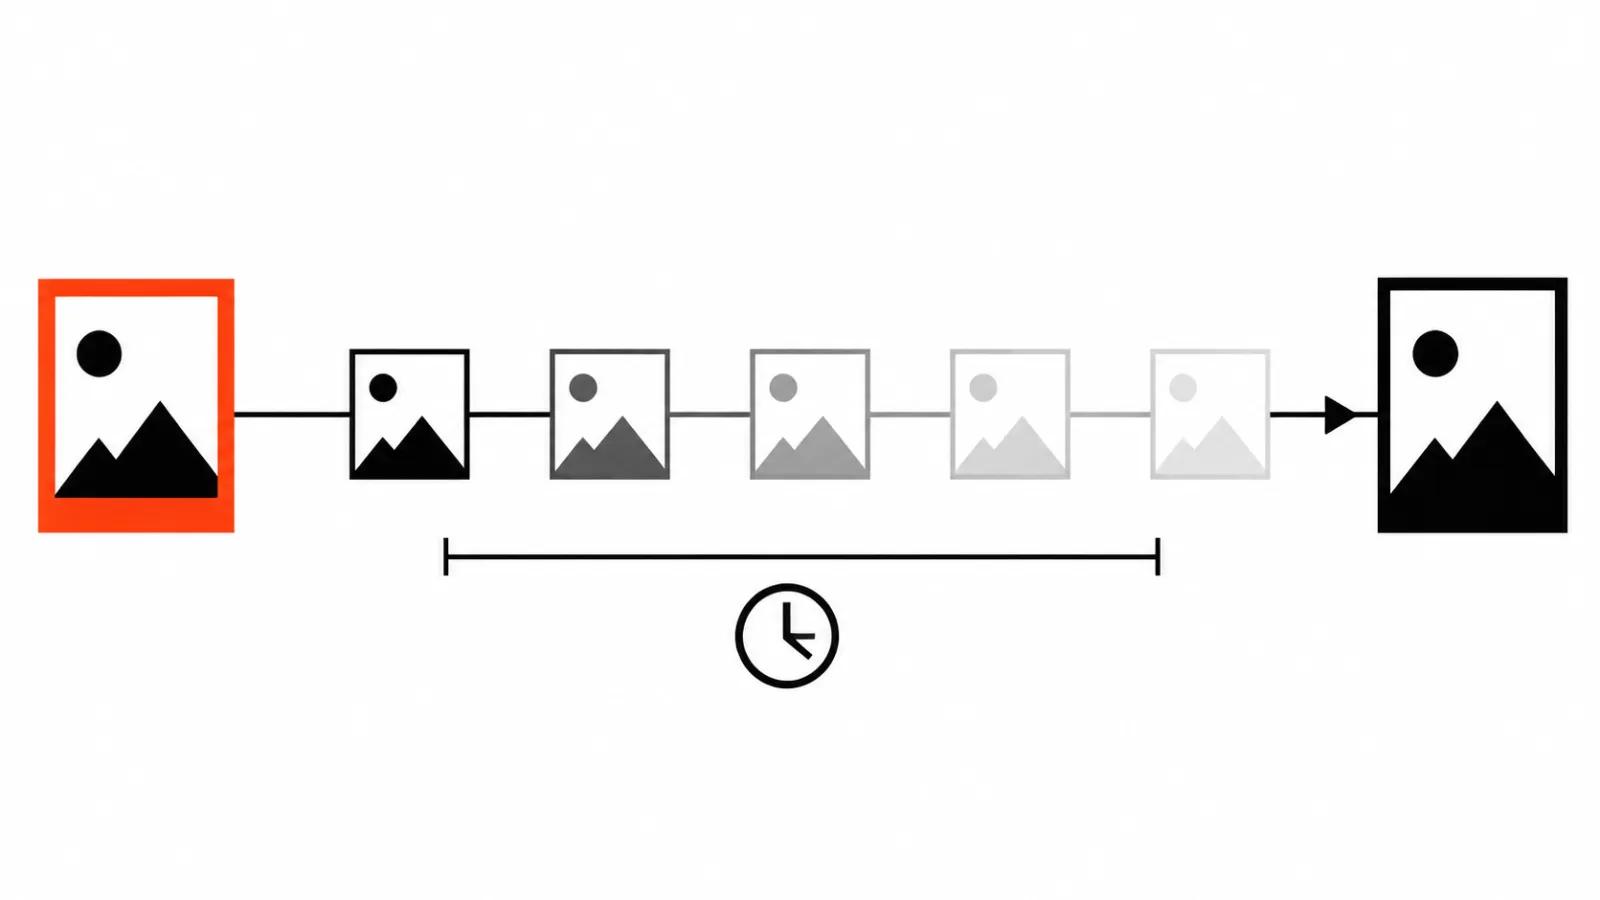
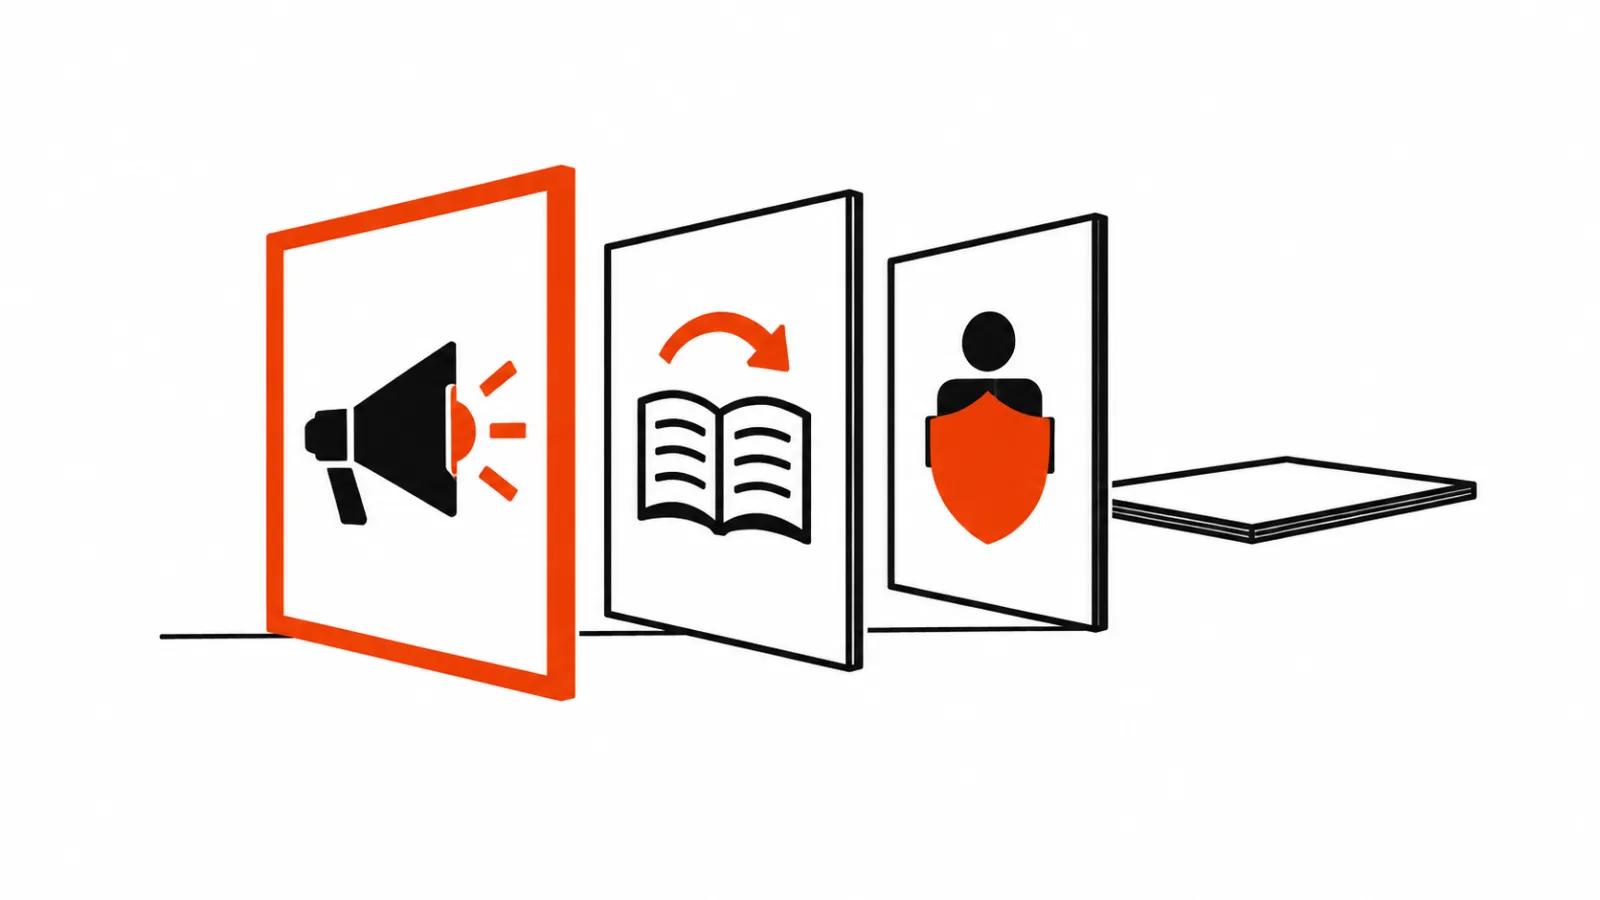
Generate a video from a photo: five steps
Step one is preparing the two stills. Same focus, same lighting, same camera position. If frame one is lit by a window and frame two by a lamp, the transition reads as a cut between two shoots and no prompt will save it.
Step two is duration. The working range is 3-10 seconds, and starting at the bottom is smarter. Three seconds give a clean move and leave the model almost no room to invent. You can always extend later. Trimming unwanted motion out of a finished clip is much harder.
Step three is the prompt. It describes motion and nothing else. The camera pushes in slowly, the lid lifts, the light stays the same. Start rewriting the object and the model will reshape it and recolor it, and your last frame drifts away from the still you supplied.
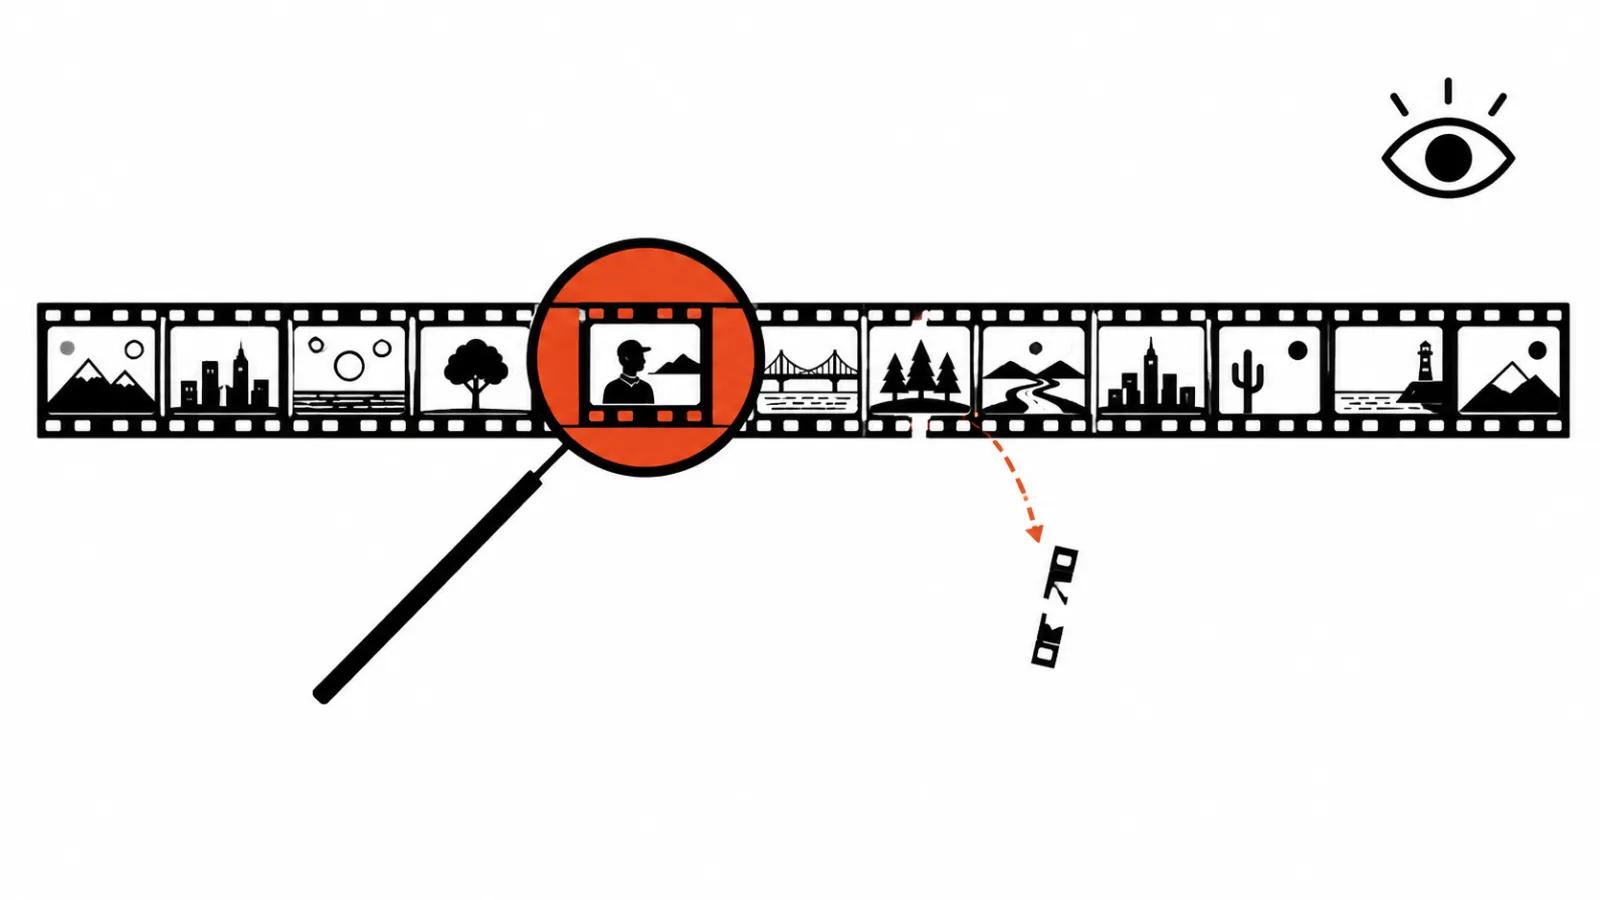
Step four is the 100% zoom check. Look at hands, face and logo. Fingers and small text are the first places where morphing appears, and a fitted preview hides it completely.
Step five is handling a failure. Two options. Halve the clip, or add a middle keyframe when the tool accepts one. Kling takes a middle frame through Felo, and that extra point in the centre often rescues a transition that refused to assemble.
Where the transition breaks
The first failure is a scale mismatch. Two stills shot from different distances produce a zoom you never asked for. The camera starts travelling in, the composition arrives larger than planned, and the ending no longer matches the approved layout.
The second is fine geometry. Fingers, a watch strap, thin spectacle frames. The model estimates those details roughly, and they swim once the frame starts moving. Check exactly the areas where the object changes angle.
The third is patterned texture. A logo, a caption, a stripe on packaging. Letters slide and stretch by the end of the move, and you only see it at full scale. If a branded element sits in shot, build the final frame as its own still with the logo already correct.
The fourth is glass and gloss. Foil, liquid, a window. Physics stays the model's problem there, and I will not promise a client an honest reflection.
Tools: three classes
Class one is image-to-video with explicit first and last: Gemini Omni, Kling, plus Seedance and Wan inside aggregators that expose the mode as a separate field. Class two is the keyframe approach in the Pika style, where frames are set in sequence and the move is stitched from several anchor points. Class three is plain text-to-video with no frame control at all, where the ending has to be talked into existence by the prompt.
Pick by the job. Product and packaging need class one, since the ending is an image. Character motion often works fine on keyframes. We already have a base guide on photo to video if you want the wider map of models and first steps. This piece covers one narrow control, and not every tool offers it.
Vertical ads: I lock the packshot as a frame
The routine is short. I build the final packshot as a separate still and set it as the last frame. The prompt then only describes the approach of the camera. The packaging arrives exactly as the client signed it off. The model owns the path, nobody lets it redraw the end card.
On a series of versions this saves the most. One shared ending holds the set together while only the entrance changes: another angle, another light, another person. Two frames instead of a hopeful prompt save roughly three regenerations of a camera that went the wrong way. In my experience that is the most common source of rework in vertical work.
For ad sets the trick sits inside vertical ads, where versions ship in batches for each platform. When every frame needs a human decision and shooting on set is the only way, we cover that under AI video production as a format and handcrafted videos for projects with an operator behind the camera.
My conclusion
The first and last frame is the cheapest way to put boundaries around a model. It does not make physics honest, glass will still behave strangely, and I do not promise a client a flawless walk through a doorway.
My practice is fixed. Three seconds, two matched stills, a prompt about motion, a check at full scale. If the transition drifts, I shorten it, then add a middle frame, and only then change tools. That order costs less than cycling through models on a hunch.