When two frames are enough, and when you need the middle ones
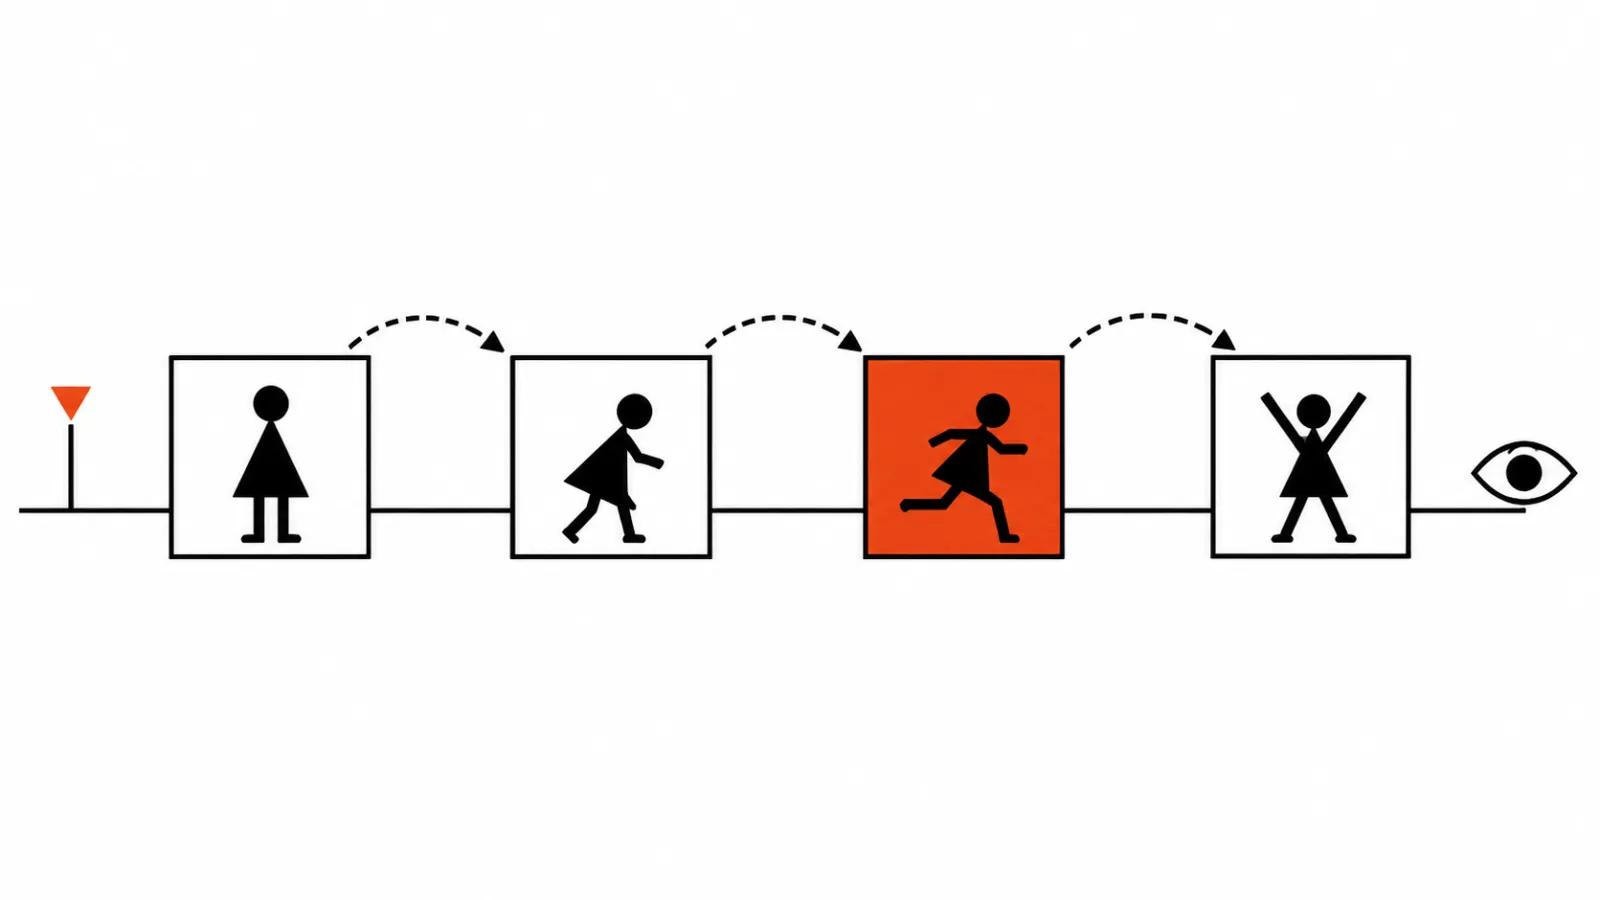
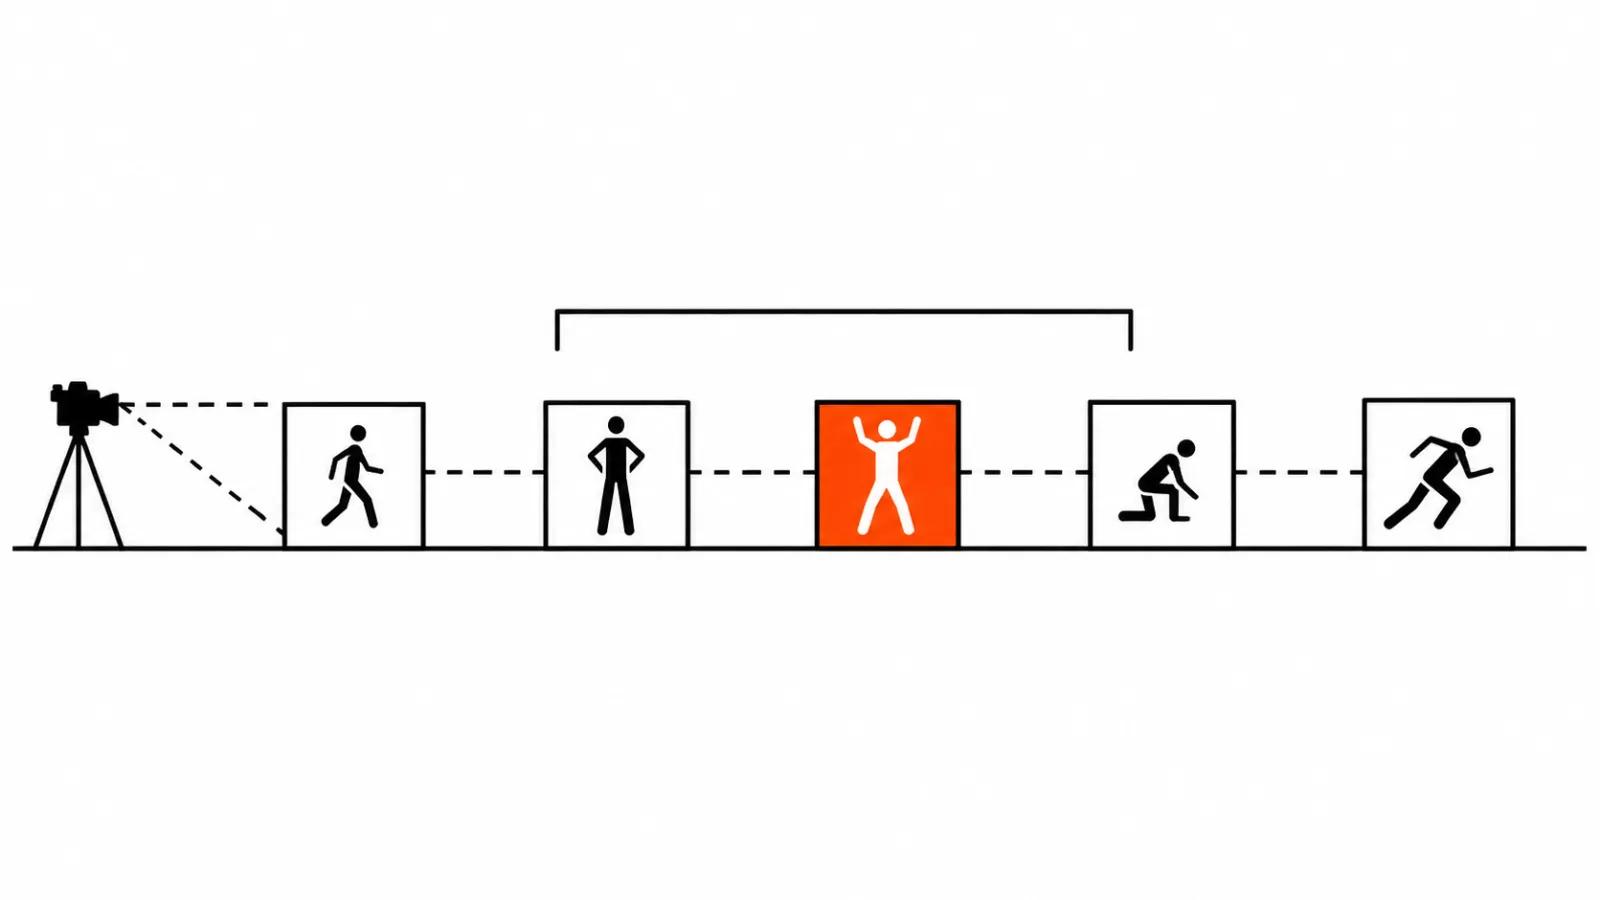
The first-and-last-frame trick has its own guide already, and its logic is simple: an image at the start, an image at the end, and the model invents the motion between them. For a short 3-5 second link that is enough.
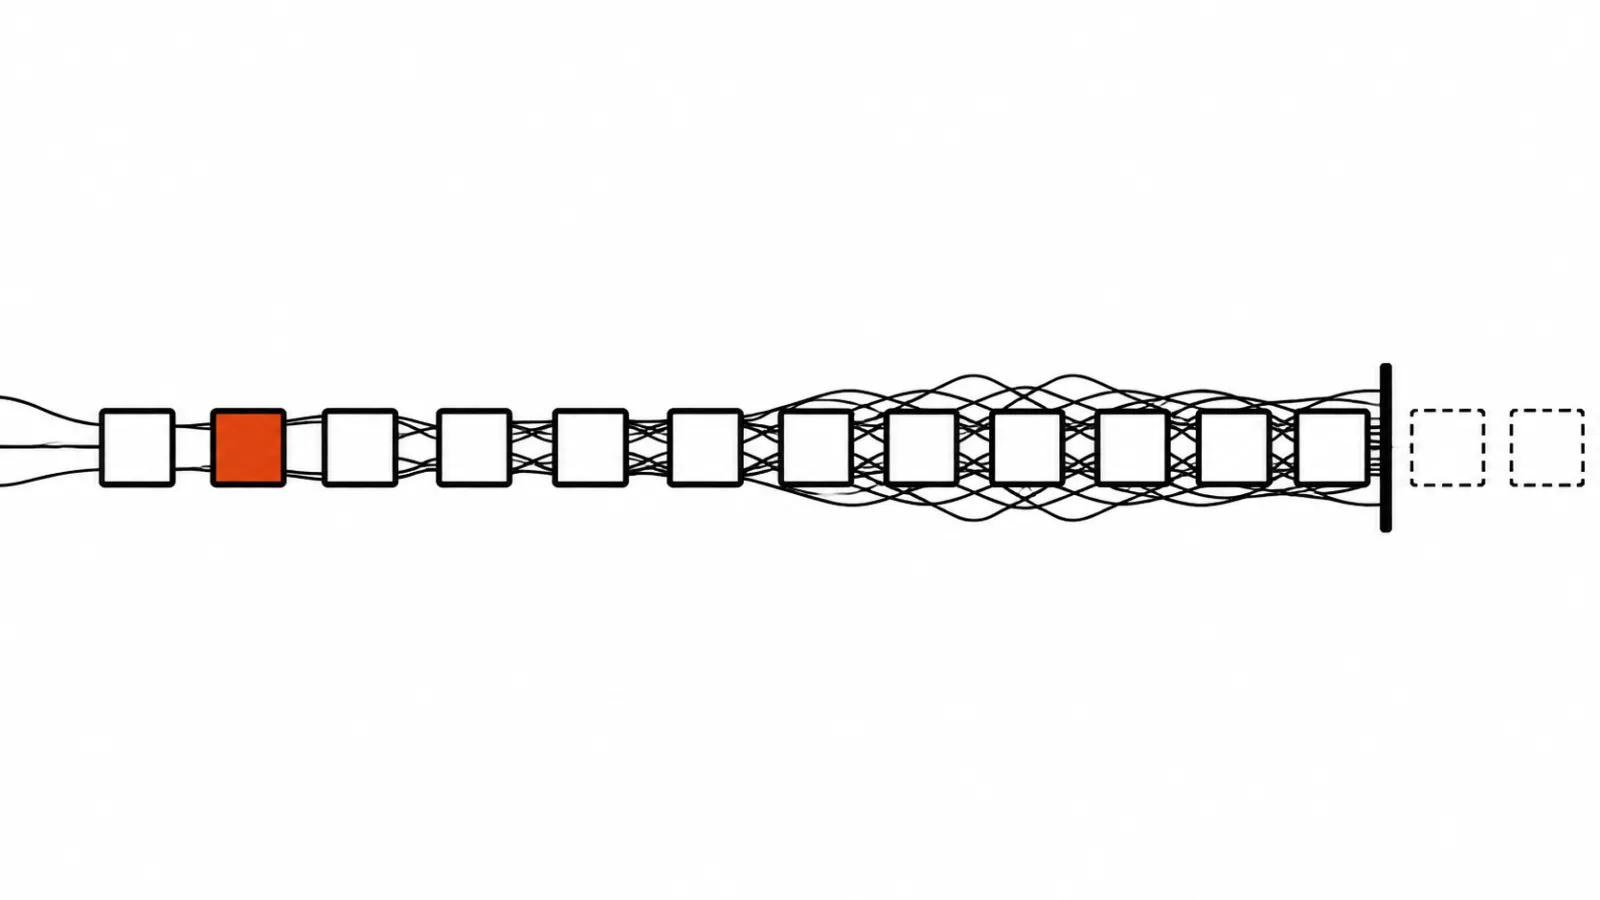
The catch appears past that point. First and last frames hold two moments, and the middle stays with the model. The Kling 4.0 manual puts it plainly: without keyframes, the model itself decides the order of changes and the timing of each one. From that come the familiar complaints: the hand went up late, the second character entered at second eight instead of six, the sky darkened before the hero finished the line.
An intermediate keyframe closes exactly that gap. You give an image at every important moment in time, and the model no longer has to guess where that moment sits.
My rule of thumb: if a shot has state A and state B and nothing changes in between, two frames are enough. If a pose changes along the way, a new object enters, the light shifts, or the camera moves from wide to close, add middle keyframes. Those are the shots I map by the second: the storyboard for the ad comes first, and then every image from the sheet gets its place on the timeline. The manual describes this exact scenario: the project already has a storyboard, and each key image needs to land on a specific spot in the timeline.
What one generation can hold in Kling 4.0
The numbers every timeline is built on. One generation runs from 3 to 30 seconds, duration is set in one-second steps, and the default is 10 seconds. You can attach up to ten keyframe images: first frame, last frame, and the intermediate ones.
In the API the images take the roles first_frame, last_frame and middle_frame, and inside the prompt you refer to each image by its @id. The separate Keyframes input accepts images only. When you also need a motion video reference, product elements or a voice, that goes through the Omni Reference input. In keyframe mode the aspect ratio is taken from the first image, so the first frame sets the proportions for the whole shot.
Two things worth knowing before you collect a stack of ten images. Kling 4.0 Flash does not support first and last frames or keyframes at all, so a timeline needs the standard model. And the prompt limit is 8,000 tokens: generous, but a sentence per segment eats it faster than you expect.
How to prepare the images
The images carry the whole job, and their weak spot is inconsistency. If the product sits in side light on frame one and the light has moved by frame three, the model will honestly try to merge both and drift at the seam.
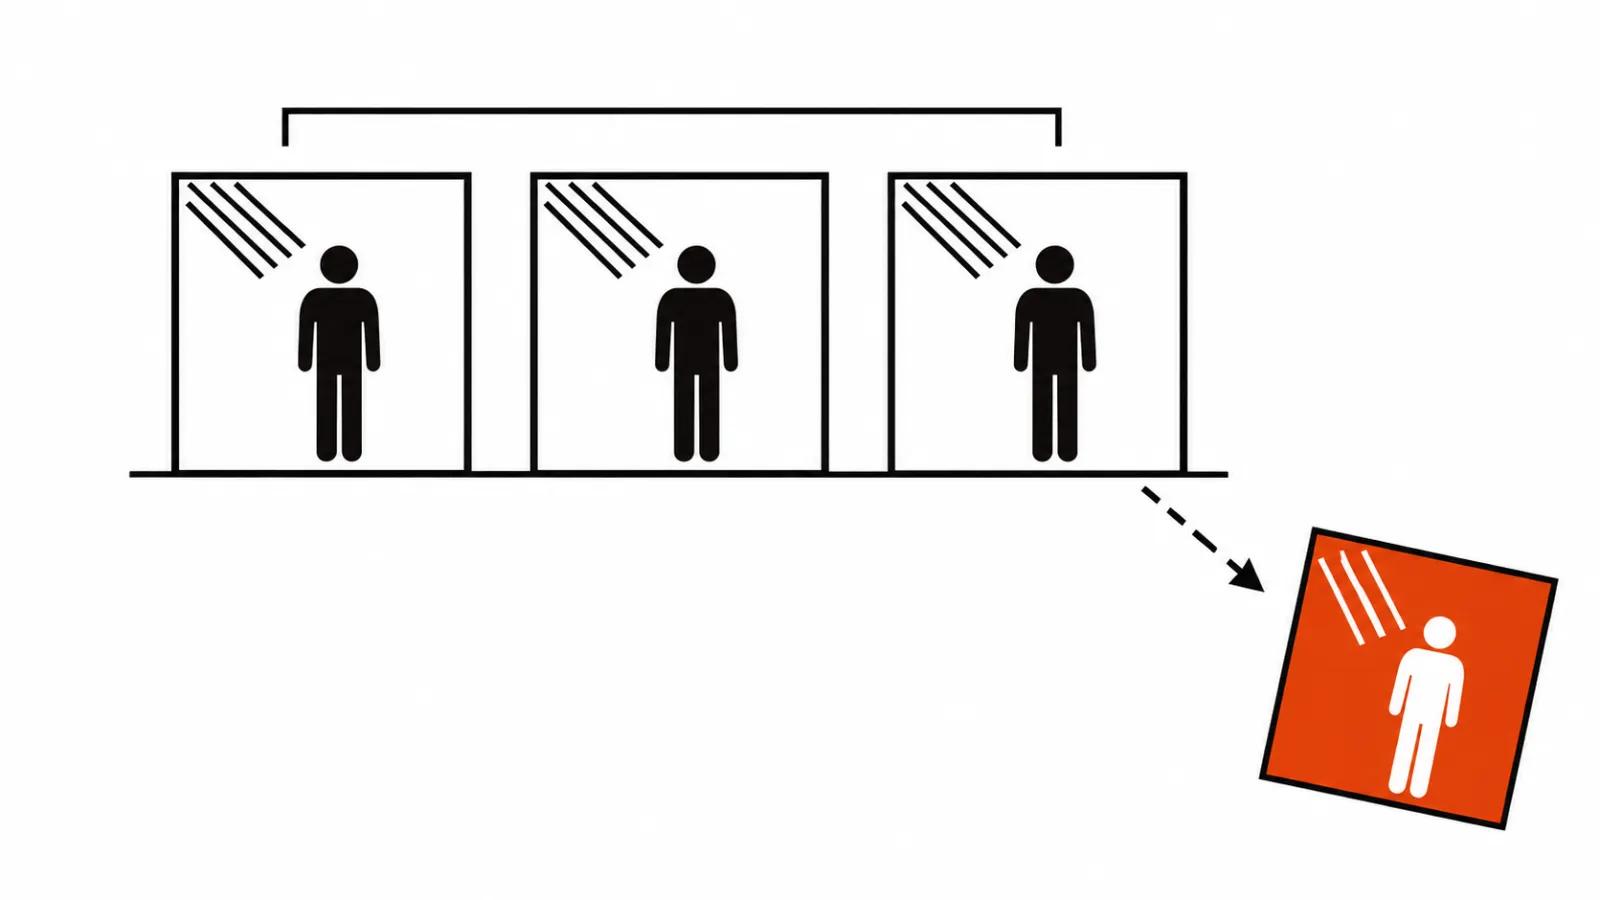
So I keep three rules. One look: the hero, the hair and the clothes stay identical from frame to frame, no "let's change the jacket". One light and one colour temperature across all images. The same aspect ratio as the first frame: it defines the proportions, and a vertical image in the middle of a horizontal shot creates extra work.
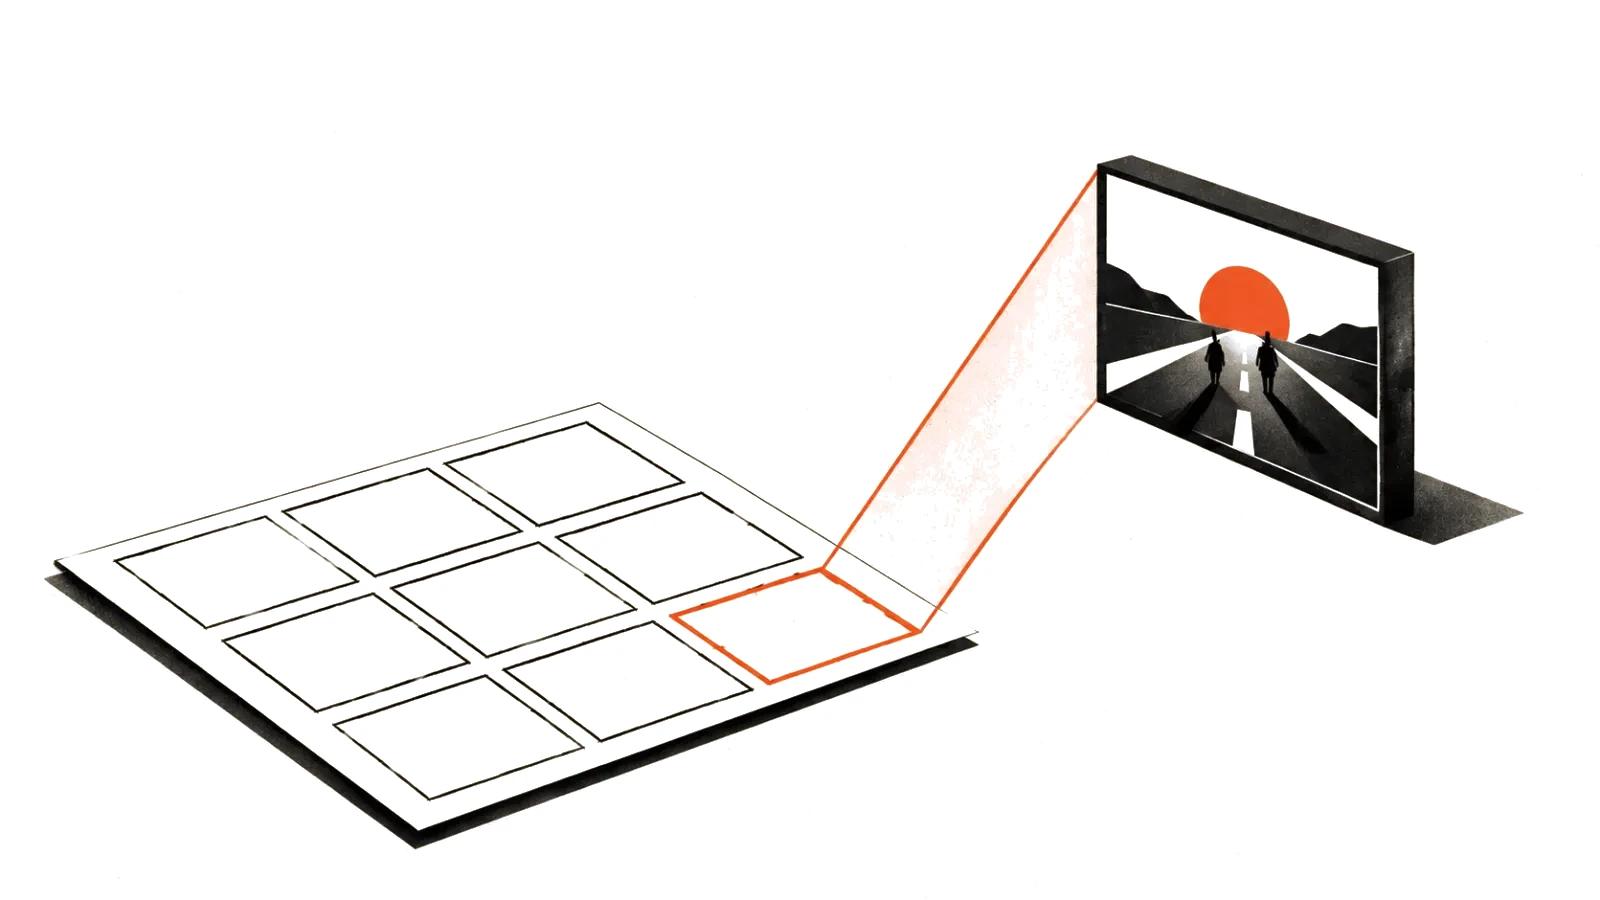
One note about where images come from. If you pull them from a storyboard sheet, grid lines and captions can leak into the video. The manual says it directly: when you attach a storyboard sheet as a reference, state that you need a finished frame without the grid and captions.
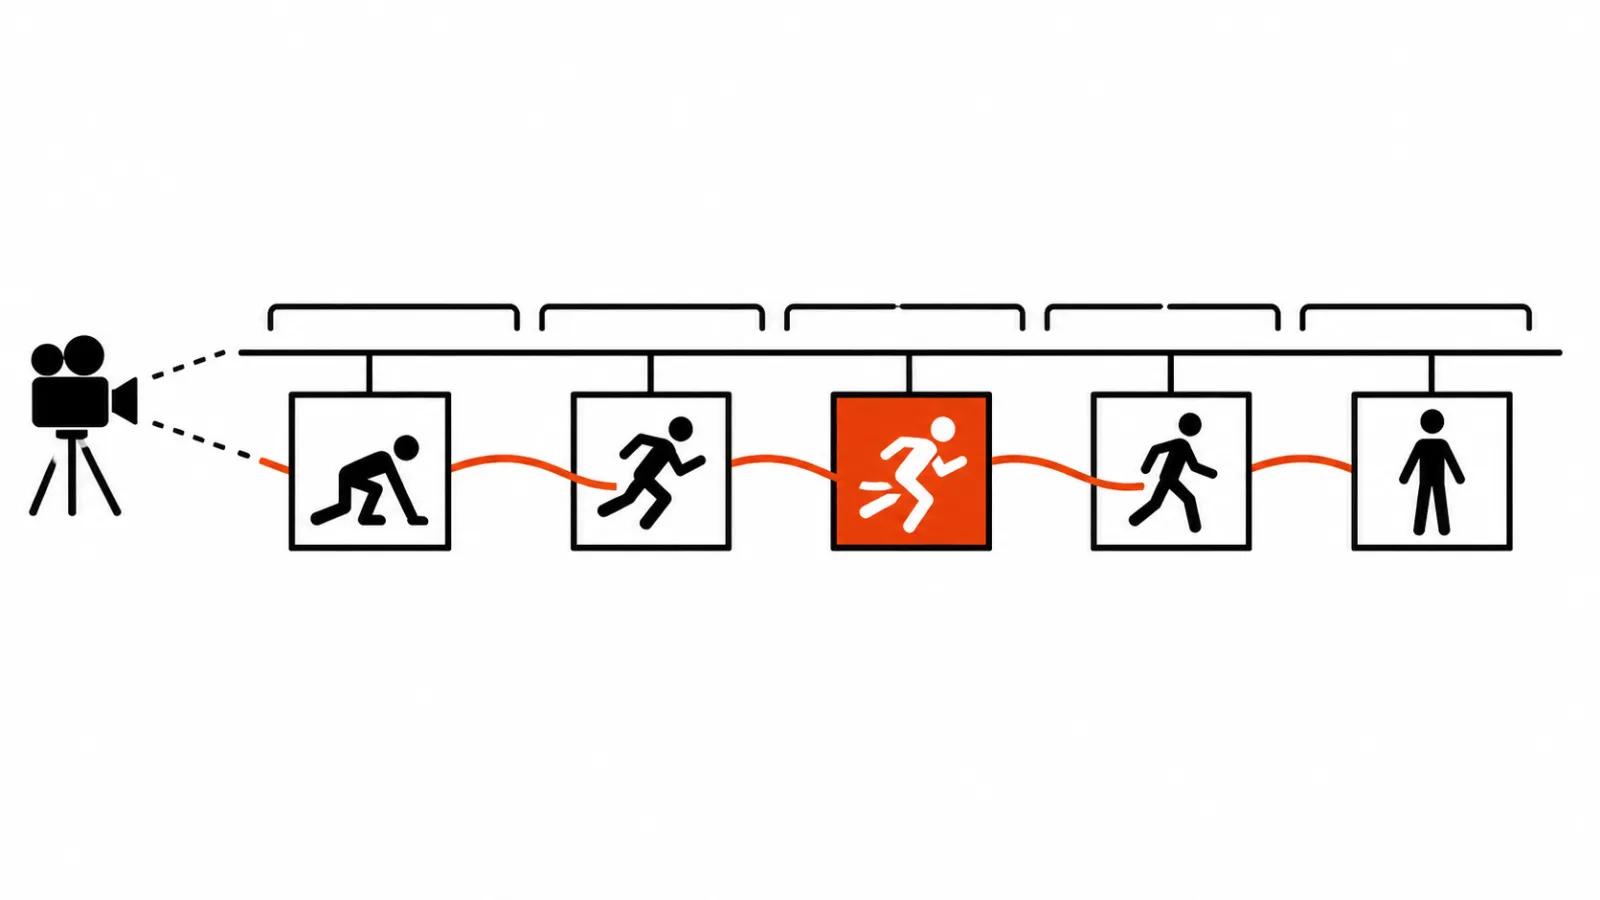
For a 30-second shot with four segments that means five images: start, three intermediates, finish. When a segment runs longer than eight seconds, it deserves two intermediate frames, otherwise the model gets too much room on a long stretch.
How to mark up the seconds
The markup is written before the prompt, in plain lines of a draft. For example: 0-6 s hero at the table, product in hand; 6-13 s turn towards the window; 13-21 s close-up of the label; 21-30 s the hero places the product on the shelf and smiles. Each segment carries one image, and segments must not overlap.
I attach four things to every segment: the action, the emotion, the camera movement and the link to the neighbouring node. The link matters on its own, because the model needs to know where the camera came from. "The camera pushes in from a medium shot to a close-up" is a link, while "close-up of the label" with no origin leaves the model a choice.
The writing rules from the manual sound like this. For the first frame, describe what happens next, which sets the direction of motion. For the last frame, describe the path towards it. For every intermediate frame, describe what happens at that point and how the camera arrives at this position.
A prompt template for a product ad
The general rules for the whole shot go at the top of the prompt: what to keep and how to join the poses. Mine looks like this.
The same woman, the same clothes and hairstyle, the same room, the same light and the same composition on every keyframe. Hard cuts between poses, no morphing. No subtitles, no background music. Duration 24 seconds. 0-6 s | @id1: the hero stands at the table holding the bottle, camera static. Then she starts turning towards the window. 6-12 s | @id2: the hero half-turned, bottle at chest level, camera slowly pushes in. 12-18 s | @id3: close-up of the label, hand holding the bottle, camera continues the push in. 18-24 s | @id4: the hero places the bottle on the shelf and smiles, camera pulls back to a medium shot.
That is the scheme from the manual in its pure form: "X-Y s | Keyframe 1: what happens; Y-Z s | Keyframe 2: …". Inside one segment I write no more than three sentences, otherwise the model starts picking which one matters. Kling accepts prompts in other languages too, but I would not mix languages inside one shot.
The long guide carries a 15-second example with one woman and six reference frames: segments at 0-2.1 s, 2.1-4.3 s, 4.3-6.5 s, 6.5-8.5 s, 8.5-10.8 s, 10.8-13.5 s, and the last 13.5-15 s reserved for holding the pose and fading out. Notice that the final segment belongs to stillness. The hold at the end keeps the shot from cutting off in the middle of a gesture.
Two traps
First: Kling 4.0 may add subtitles and background music by default. If you do not want them, say so in words: "no subtitles", "no background music". Guessing what the model decides is more expensive than writing two extra phrases.
Second: the balance between description and bans. It works better to describe what you want to see, and keep the bans short and specific. A long list of "do not" reads to the model as one more set of objects in the frame.
How to check the result
The check follows the same markup as the prompt. I park on a marked second and ask whether this is the right frame: did the hero turn at second six or at nine, does the label fill the frame or stay small.
The second thing I watch is the transitions between nodes. Morphing shows up in the details: a face melts for a fraction of a second, a hand loses fingers, the bottle changes shape between poses. The manual asks for hard cuts between poses, and those seams are where I pause.
Third is dead time. When two neighbouring frames are too similar, the model can stand still for half a segment and the shot sags. That is fixed by rewriting the segment; rerunning the same prompt produces the same sag.
If the shot misses in two or three places, I do not redo everything. Fixing one segment and one intermediate frame is cheaper. A 30-second generation with six images costs more than a short one, so the test run goes on 6-8 seconds with two frames.
Kling 4.0 renders at 720p, 1080p and 4K, with HDR available only at 1080p and 4K.
Why this belongs before production
A timeline inside a shot is the same thing as a shooting order in an ad. It is built before production, because afterwards it is too late. When a 30-second shot goes into a commercial, every second of it is paid for with viewer attention, and "close to the plan" at second two breaks the whole piece.
I build such shots in two passes: a draft generation on three frames, then a second-by-second refinement for the segments where the model missed. Even when the shot is produced with AI as part of the service, a person writes the markup, because the markup is what replaces the director on set.
One more observation. An intermediate keyframe is convenient because it can be seen. The client can look at the image for second six and say the hero is holding the product wrong. With a table of seconds the conversation stays concrete, and the fixes arrive before the generation instead of after it.